
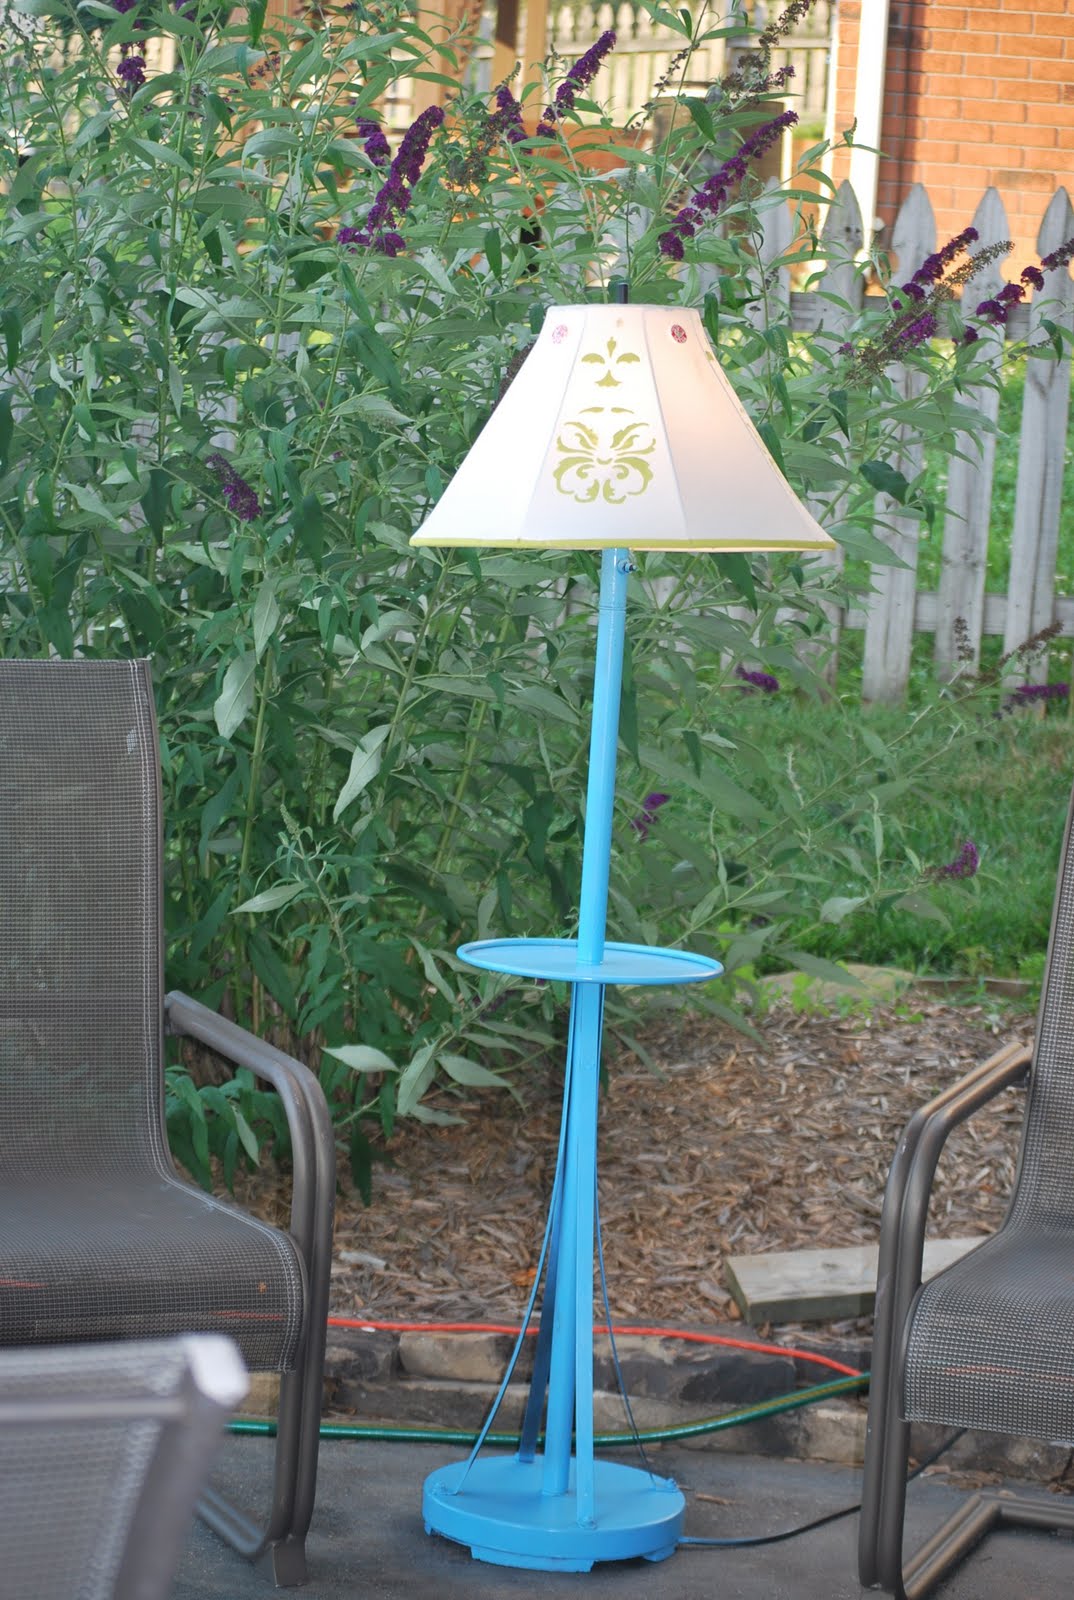
I did not buy anything (major) new for this area. I used spray paint and acrylic paint love to transform our outdoor lamp. However (shame on me), I did not take a before picture. So imagine, this....a faded, black base and a cream lampshade that had paint splatters and mildew spots. It needed some major love. I first soaked the lampshade in a gentle detergent and then gave it a bleach bath. Most of the spots came out and it looked much brighter. I then stenciled (bought mine at Michael's for $5.00)a damask pattern on the lampshade using Citron green Acrylic paint. To add a little detail, I found cute little orange buttons at Hobby Lobby and sewed them on top with green thread. The based was sprayed twice with Krylon turquoise spray paint. I also sprayed a poly protector on top. I love my "new" lamp!

Madison helping to straighten the lampshade, still working on that!

The shade and the base, see my pretty Butterfly Bush in the background, I love her and her beautiful blooms.........they smell soooooo good!
One more shot of the lampshade.

Oh, and the color match our "new" rug (feature in the part 1 downstairs patio post).

Here is the fun sign that the girls and I worked on together. We will hang it when the porch is complete!

We started with a 24 x 24 piece of plywood. I gently sanded with my handy electric sander. I spent time roughing up the edges and giving the surface a slight texture to paint.

My two darling helpers!

Next, I used a creamy white acrylic paint (which I used to antique everything, no fancy chalk paint in this house....but I would love to try it one day). After letting it dry, I gently sanded with a sanding sponge and added a layer of Martha Stewart Sea glass paint. Again, dry, sand. I then used my black antique glaze over the top. I rubbed it off with a towel.

I next wrote The Huber Hideaway using pencil. I traced over with a black Sharpie. I did freehand my lettering and this shows. Next time I will use some sort of tool! Using a very fine paintbrush, I filled in the letters with red paint. After the paint dried, I rubbed additional black antiquing finish on top.


The final, and really the funnest, part was to take the electric sander and run it back over the whole sign (after it was completely dry). It make some really cool lines in the letters and added extra ridges throughout. I like the red lettering because it reminds me of circus signs from the olden days! My oldest did not like the red AT All. Although we disagreed on the final product, we had fun making it.

And here are my pretty flowers that are blooming. Love these type of daylillies because they get super tall and are a beautiful shade of orange. I get so excited when the first one opens up!

Hope everyone had a great summer day!
Beth


Coming along great :) I really like the lamp transformation...and the rug! :)
ReplyDeleteOh wow I love the color you chose for the lamp.
ReplyDeleteBravo you should be proud.
Tee
Cute lampshade! And thanks for taking the time to leave a comment on My 3 Little Birds : )
ReplyDeleteLOVE IT!! Great job!! :)
ReplyDeleteThanks for also becoming a recent blog follower of mine. I super appreciate it! I would also love to have you "like" the Tall Chick Facebook page, if you have time. Hope to see you around in blog world! https://www.facebook.com/pages/The-Tall-Chick/176769599015795